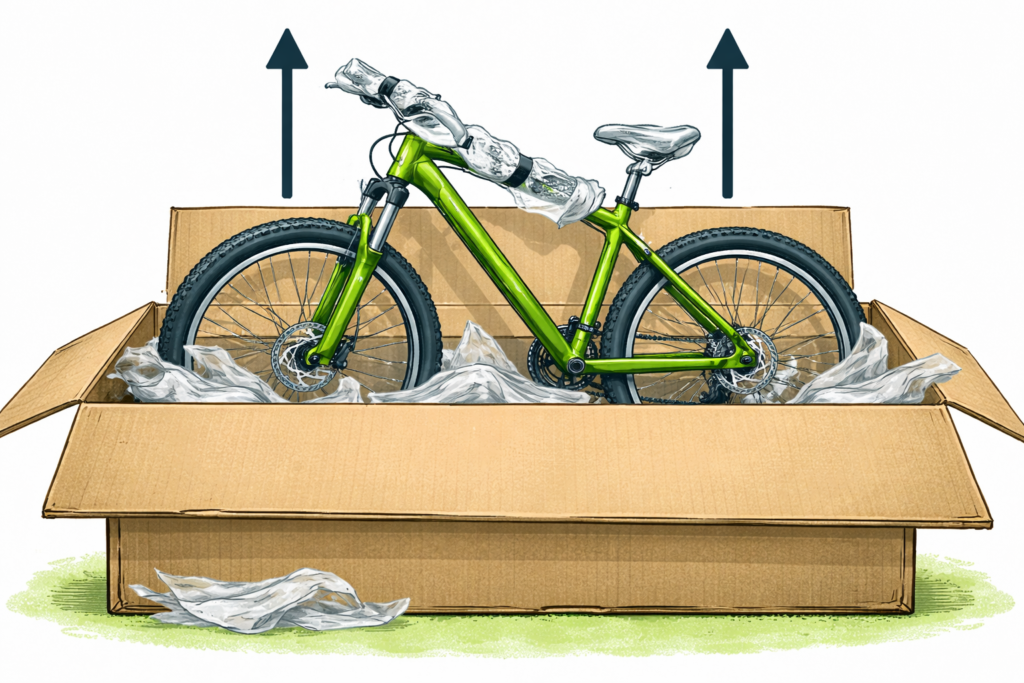
Open the box carefully. Avoid deep knife cuts (easy to nick tires, cables, paint).
Remove the small accessory box first (manuals, reflectors, pedals if included, chargers for e-bikes, etc.).
Lift the bike out by the frame (not by handlebar or saddle). If it’s heavy (e-bike), get help.
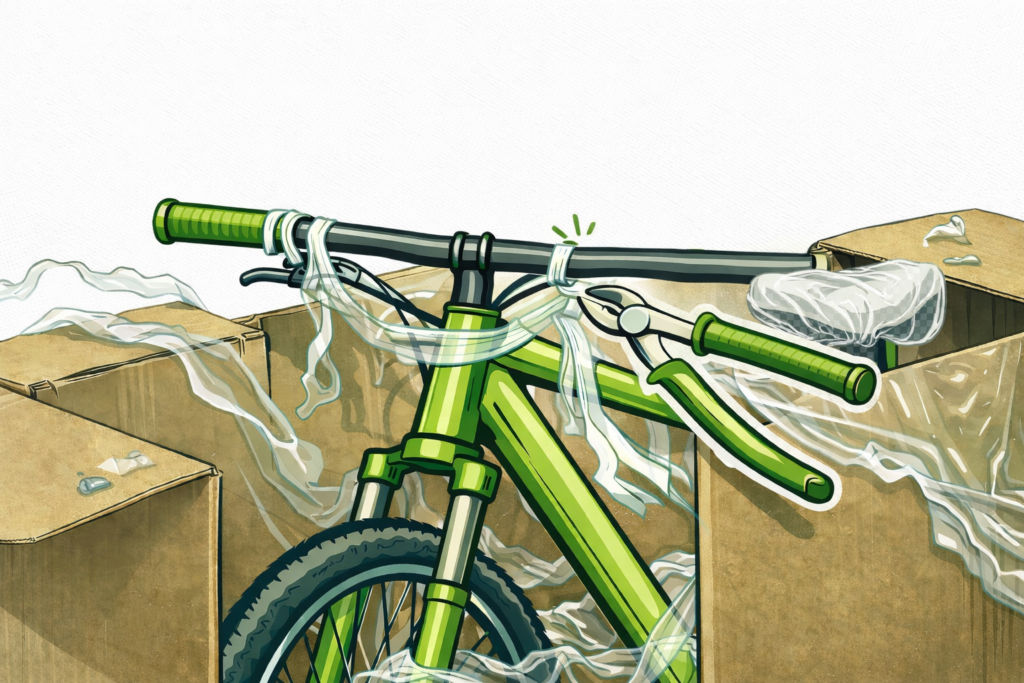
Cut zip ties and protective foam slowly. Keep one hand on hoses/cables so they don’t get pulled or kinked.
Step 2 — Quick inspection (2 minutes)
Check for visible shipping damage: cracks, deep scratches, bent rotor, crushed derailleur hanger.
Spin both wheels: they should rotate freely without heavy rubbing.
Do not squeeze a disc brake lever when the wheel is out (unless a transport spacer is installed).
Step 3 — Cockpit: align handlebar and tighten the stem
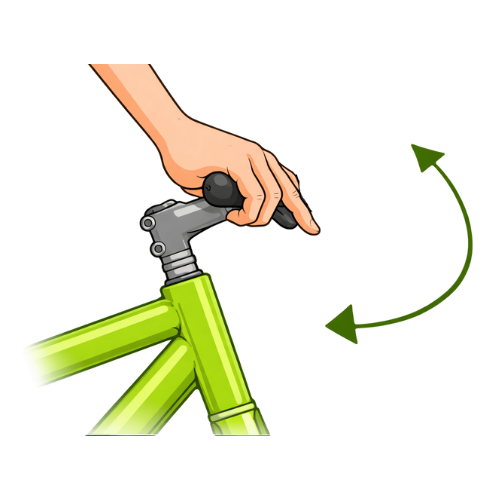
If the handlebar was turned sideways for shipping: position it in front of the bike, centered and aligned with the front wheel.
Center the handlebar using alignment marks (if present). If no marks exist, measure equal overhang left/right.
Tighten faceplate bolts gradually in a cross pattern (top-left, bottom-right, top-right, bottom-left).
Set final torque to the value printed on the stem/handlebar. Re-check that the faceplate gap is even (unless the system is designed as “no-gap”).
Step 4 — Seatpost and saddle height (starter setup)
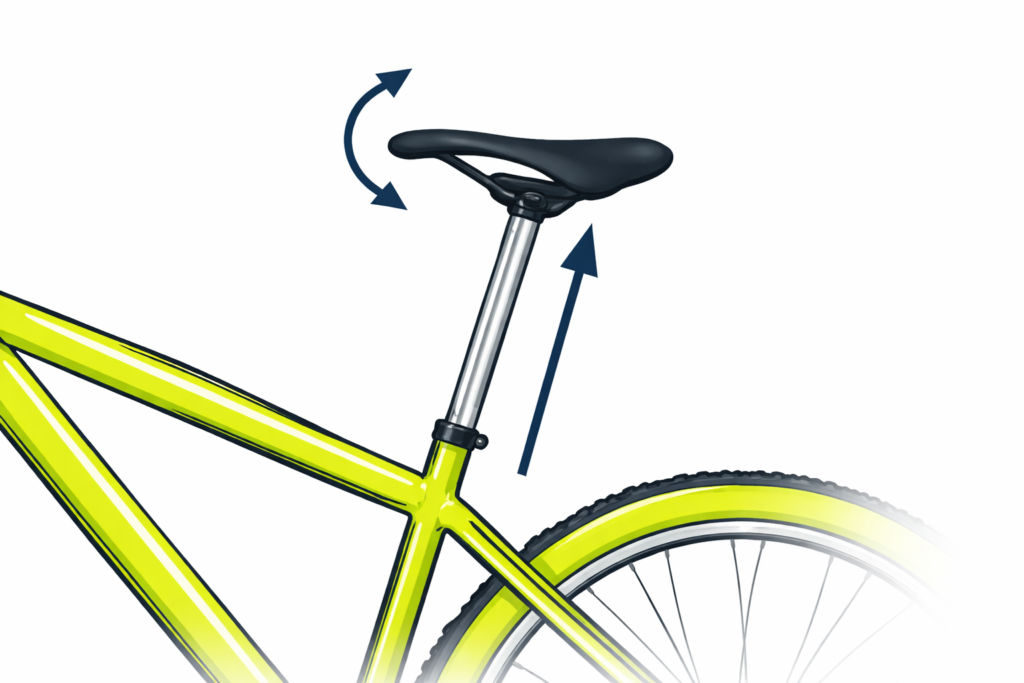
Locate the minimum insertion mark on the seatpost (or max extension mark). Never exceed it.
If carbon is involved: use carbon assembly paste only if specified.
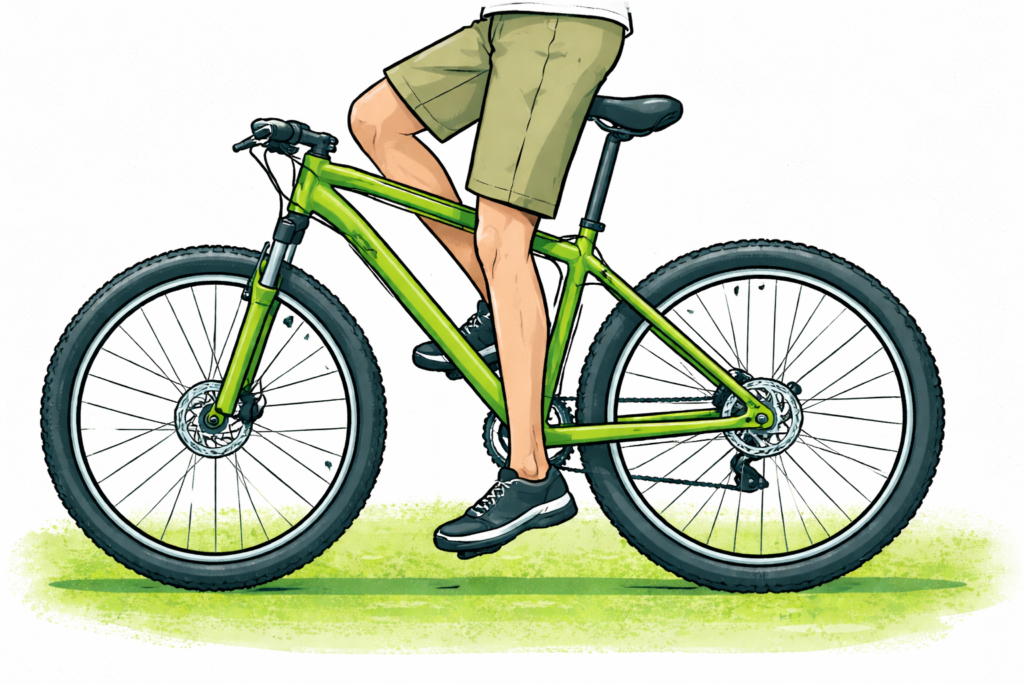
Starter saddle height: with your heel on the pedal at the lowest point, your leg should be almost straight (without hips rocking).
Tighten the seat clamp to spec and verify the saddle is straight (aligned with the top tube).
Step 5 — Install the front wheel (if it shipped separately)
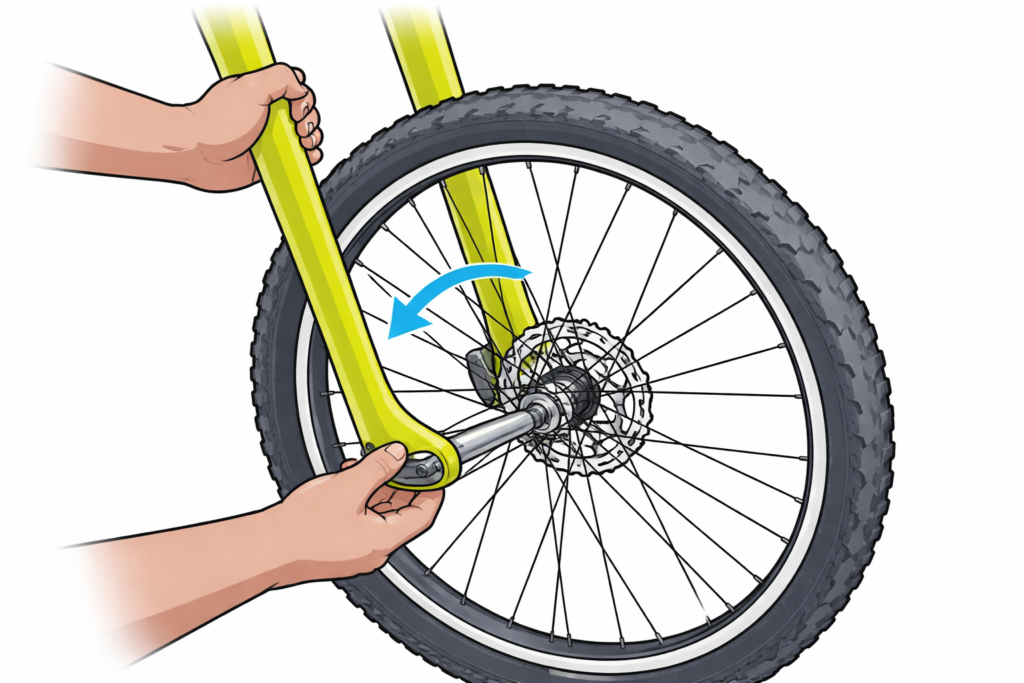
Remove any plastic brake spacer/rotor protector only when you’re ready to install the wheel.
Insert the wheel fully into the fork dropouts so it sits straight.
Install thru-axle or quick release and tighten to the marked torque / specified closing force.
If the disc rotor rubs after installation: loosen caliper bolts slightly, squeeze brake lever to center caliper, then tighten bolts evenly to spec.
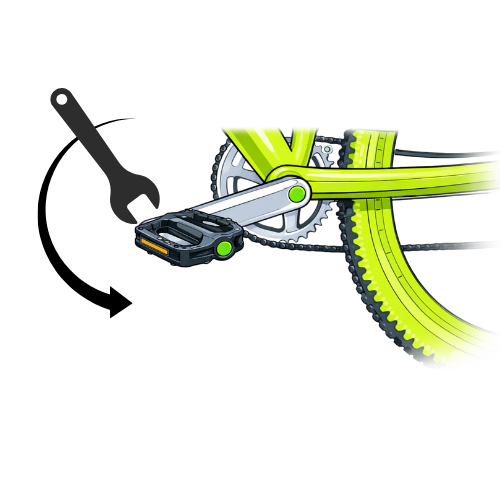
Step 6 — Pedals (righty-tighty, lefty-lefty)
Identify pedals: right is marked R, left is L. Left pedal tightens counter-clockwise (reverse thread).
Apply a thin layer of grease to the pedal threads (unless the pedal manufacturer says otherwise).
Thread in by hand first (avoid cross-threading), then tighten to spec.
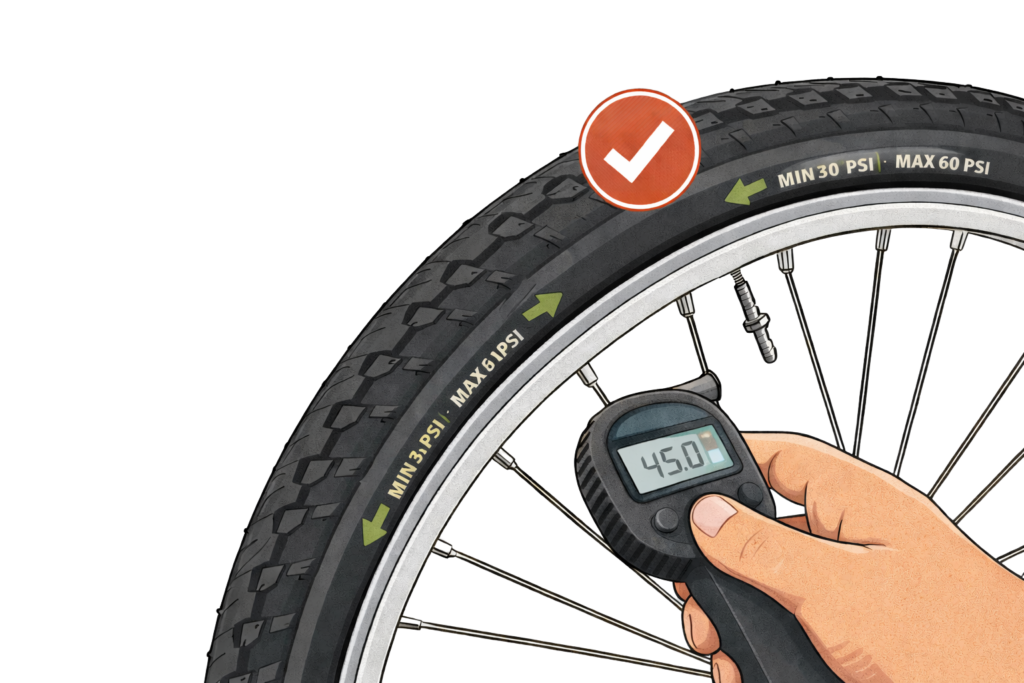
Step 7 — Tires: pressure and direction
Check rotation arrows and confirm correct forward direction.
Inflate to a sensible starting pressure. Use the min/max printed on the tire as safety boundary.
Tubeless: verify valve core is tight; listen for slow leaks; top up sealant if required.
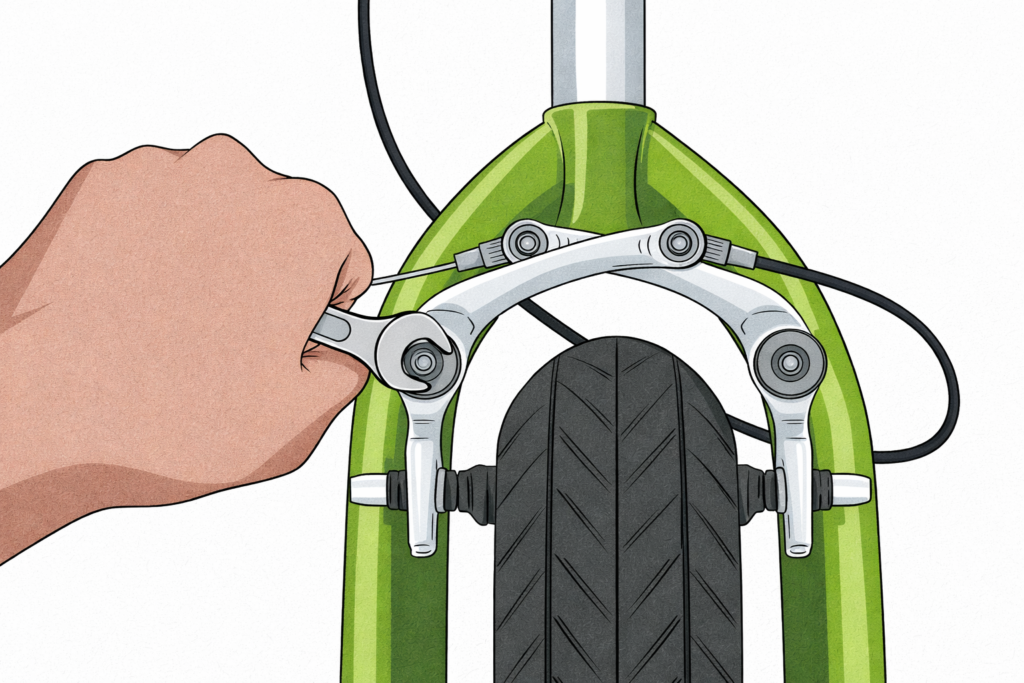
Step 8 — Brakes: function check + bedding-in
Pull each brake lever firmly: it should feel solid and not pull to the handlebar.
Disc brakes need a short bed-in process for best power. Shimano’s procedure: accelerate to moderate speed, brake down to walking speed with one brake at a time, repeat at least 20 times per brake (use moderation on the front brake).
Step 9 — Shifting: quick check
Shift through gears while pedaling (bike in a stand, or during a gentle test roll).
If the chain hesitates/skips: stop and contact support, or follow the drivetrain manufacturer’s indexing procedure.
Electronic shifting: confirm battery charge, connection, and reliable shifting.
Step 10 — Suspension (MTB/gravel with suspension)
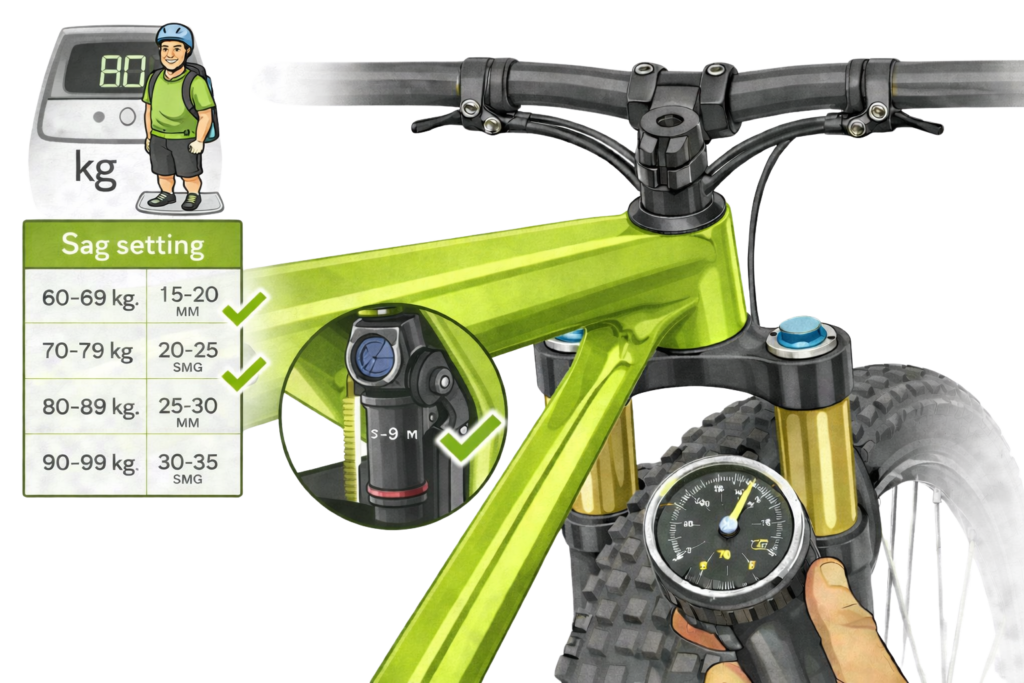
Set sag using the fork/shock manufacturer’s chart (your weight + riding kit).
Start rebound in the middle of its adjustment range.
Step 11 — E-bike specifics
Charge the battery fully before the first longer ride.
Ensure battery is locked in place; contacts are clean and dry.
If your bike has a shipping/transport mode, follow the manufacturer’s quick-start steps to activate.
Final safety checklist (before the first ride)
Wheels fully seated; axles/QR closed and tightened
Handlebar straight; stem bolts torqued
Brakes stop the bike; rotors not badly rubbing
Pedals tight; crank arms secure
Seatpost clamp tight; saddle doesn’t twist when you grab it
Tires inflated; no bulges or cuts
Lights (if equipped) work
Nothing rattles when you lift the bike 2–3 cm and set it down gently
After the first 30–60 minutes of riding
Re-check torque on: stem bolts, faceplate bolts, seatpost clamp, and pedal tightness.
Check wheel trueness / obvious spoke looseness.
Inspect for leaks (hydraulic brakes/suspension) and unusual noises.